Aloe vera, regularly referred to as the “plant of immortality,” has been cherished for centuries for its recuperative properties. One of its easiest but most effective functions is in the form of a gel that can work wonders for your skin.
Rather than relying on store-bought variations encumbered with additives, crafting your own aloe vera gel can be a beneficial and pretty easy endeavor.
In simply 5 effortless steps, you can create a pure and effective potion that nurtures your pores and skin naturally.
Step 1: Gather Your Materials
Gather the following supplies before you set out to make your magical solution:
Pick robust, healthy leaves from your aloe vera plant to use as fresh leaves.
To safely remove the gel off the leaves, use a sharp knife.
For even and fluid blending, use a food processor or blender.
Glass Jar with Sterilization: To preserve the gel for later usage
Step 2: Prepare the Aloe Vera Leaves
Begin by cautiously washing the aloe vera leaves to dispose of any dust or debris. Place them upright in a bowl for a few minutes to let the extra sap drain out. This step helps put off the yellow resin, which can cause inflammation in the skin.

Step 3: Extract the Gel
Using a sharp knife, trim off the serrated edges of the leaves and slice them lengthwise to expose the gel-filled interior. With precision, scrape out the gel using a spoon and accumulate it in a smooth container. Ensure you gather as much gel as possible, as it carries the advisable compounds accountable for aloe vera’s recovery properties.
Step 4: Blend for Smoothness
Pour the gathered gel into a food processor or blender. Process on low until smooth and uniform consistency is reached. By removing any lumps and uneven textures from the gel, this step makes it easier to apply and store.
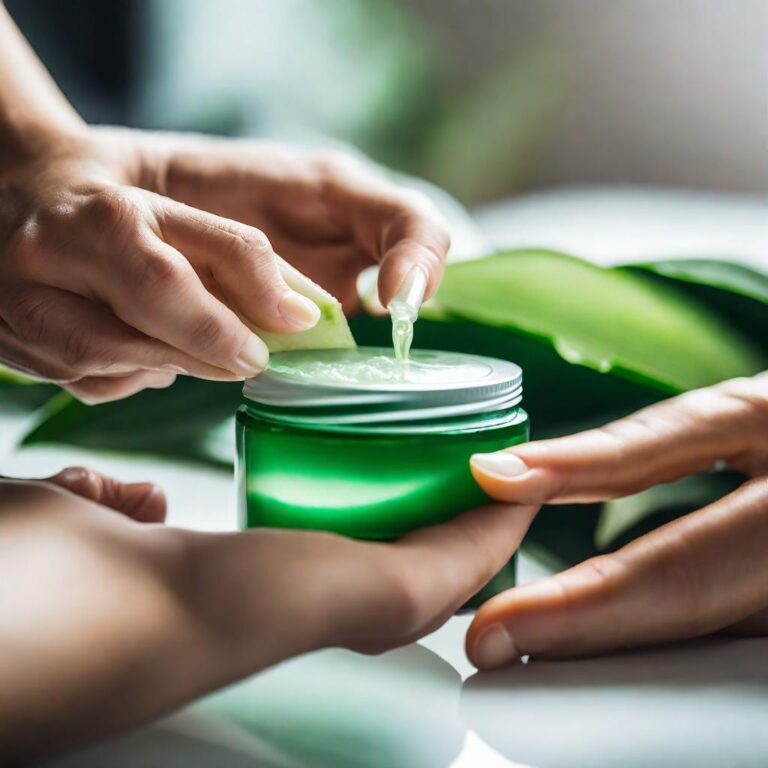
Step 5: Store and Use
Transfer the mixture into a glass jar or other container that has been sterilized. Place it in the refrigerator after carefully sealing it. Refrigerated, homemade aloe vera gel can keep its efficacy for up to a week.
Benefits of Homemade Aloe Vera Gel
Natural Healing: Aloe vera gel is nicely recognized for its calming and hydrating qualities, which help relieve dryness, irritation, and burns.
Chemical-Free: By making your personal gel, you ensure a pure, additive-free product free from dangerous chemical compounds frequently observed in business versions.
Cost-Effective: Harvesting aloe vera gel from your plant is a cost-effective alternative to buying business products.
Moisturizing Elixir: The skin is nourished and left feeling supple and renewed by its moisturizing qualities.
Hair and Scalp Nourishment: By calming the scalp and conditioning the strands, it can also be utilized to support healthy hair.
These are just few to mention.
Precautions
Before using a product widely, do a patch test, particularly if you have sensitive skin or allergies.
To keep your gel fresher longer and avoid contamination, use a sterilized and clean jar.
Conclusion
Making your own homemade aloe vera gel allows you to use this amazing plant’s natural essence in your skincare routine and opens up a world of benefits. Savour the benefits of this handcrafted, natural essence that is pure and produced with love.